
I found some "fun" metal plaques at our local Hobby Lobby in the clearance aisle for two dollars (originally $13.99...really?) I didn't know what I was going to do with them but I'm a sucker for any type of architectural print so I scooped up the one but having faith in my creative ability I grabbed two more and I'm happy that I did. I've had an epiphany! Magnetic Memo Boards like the ones in the Ballard Designs catalog.
Also, have you seen the magnets that are made out of the "glass gems" that are typically used as a vase filler? I'll show you how to do that as well as a couple of ways to make a magnetic memo board.
 |
| Here is one of the memo boards from Ballard Designs. |
 |
| Here are a few more. |
 |
| Metal plaque #1 I really like this picture so I'm not going to do anything to it except add a hanger and make some coordinating magnets. |
 |
| Metal Plaque #2 I'm going to cover this one with fabric. |
 |
| Metal Plaque #3 I like the design of this one but I think I'll add a little something (waiting for that second epiphany!) |
 |
| One of those tag sale finds. I'm also a sucker for round frames so I just bought it knowing that someday I would need it for something! What am I going to do with the embroidered picture? I wonder who did it? |
 |
| I'll start with this one. |
Other supplies:
-Sheet metal: available in 12x12 or 12x24 at Home Depot & Lowes
(If you have a larger frame, look up sheet metal suppliers in your local directory).
-Tissue paper or gift wrap or fabric or chalk board paint or wall paper
(depends on the look you are going for) I liked this Hounds Tooth tissue paper from Hobby Lobby.
-Mod Podge
-Permanent Marker
-Paint (if you want to paint your frame)
Tools:
-Metal cutters (very easy to use, like cutting a sheet of paper with scissors)
I used the glass from the frame to trace a circle onto the metal with my permanent marker and then cut it out. I also traced a circle onto the tissue paper. I was tempted to paint the metal with chalk board paint but its small...so I figured by the time you hung a couple of things on it, there wouldn't be a point. If you want to do this, I would prime first with Kilz or Bin Sealer so that the paint adheres well.
 |
| Add caption |
I spray painted the frame and added a little gold detail with a gold paint marker.

That's how I did it. Aren't those magnets pretty. The instructions are a little further down.

While I have the Mod Podge out I'll do Plaque #2
I've had the fabric piece I'm using for a while.
[On a side note, this is a sample piece from a local, designer fabric store. Once fabrics are discontinued they sell the samples and sometimes they are quite large. I once reupholstered a bench seat with one.]

First, I painted a generous layer of Mod Podge (MP) onto the metal plaque.

On the backside, I turned under the corners and painted on some more MP.
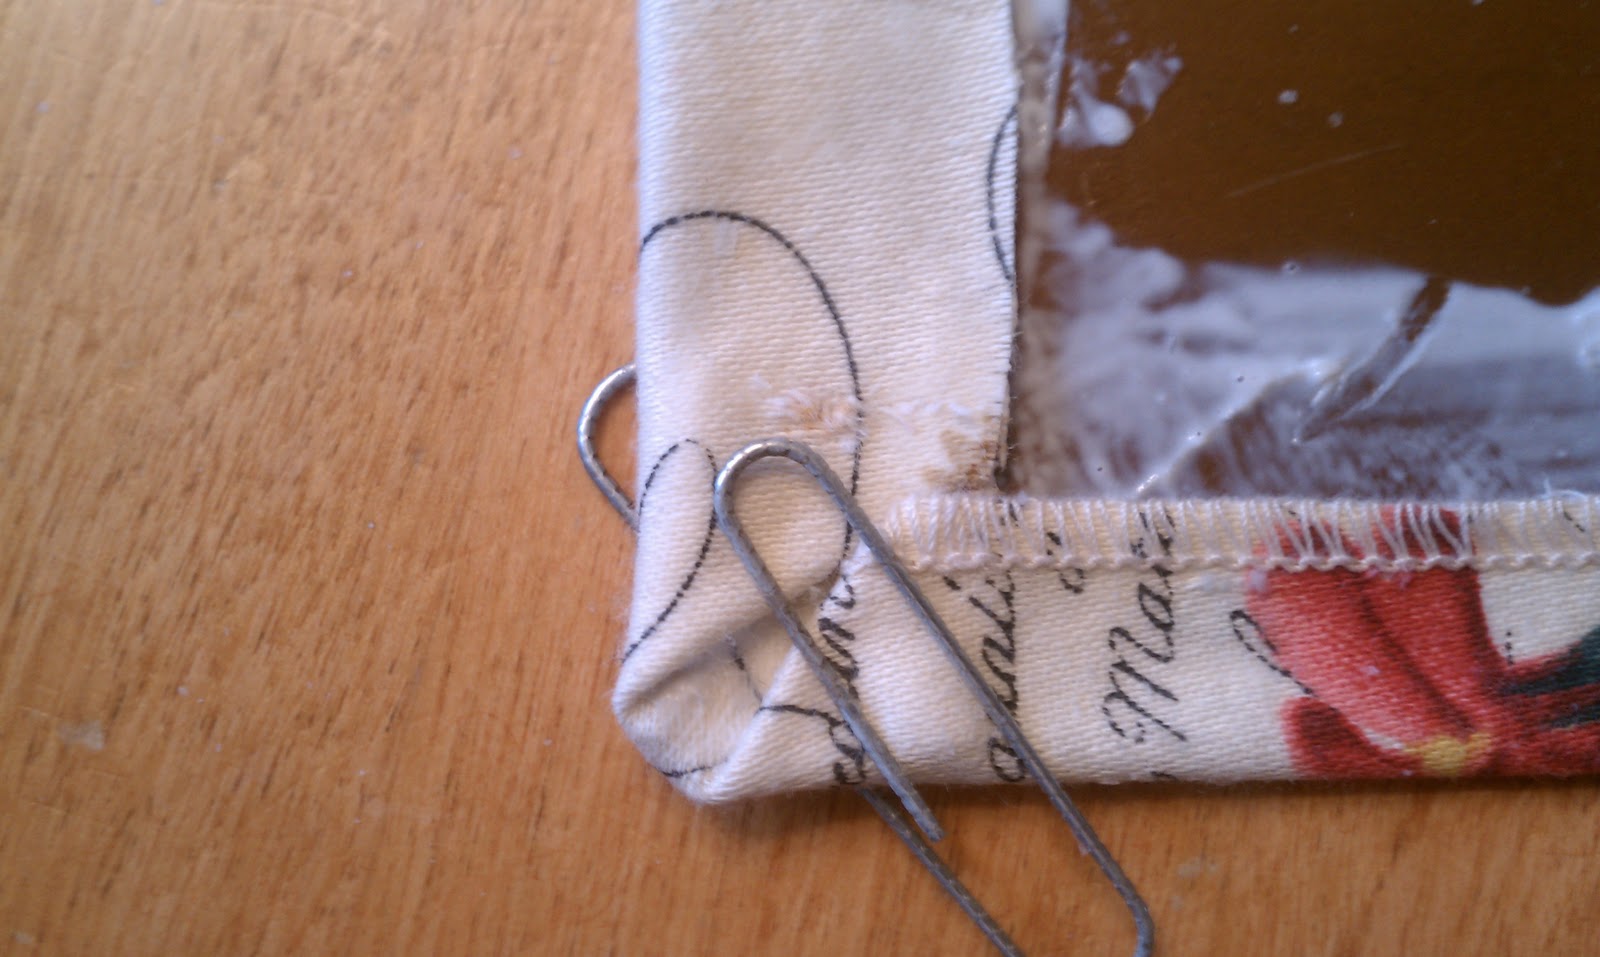
I turned under the side edges and added more MP over the top. Hold the corners in place with paper clips until its dry. Just wipe off the excess glu with a damp paper towel (or leave it because it does dry clear)
I punched holes in the top for the ribbon hanger and that was that!
 |
| Metal Plaque #2 The finished product! |
How did I punch holes in the metal you ask? Well, since I didn't have the appropriate drill bit I put the plaque on a 2x6 and used a sledge hammer and a giant landscape spike. I'm sure there are more ladylike ways to do it but that's the way I roll ;)

Remember I just needed to add a ribbon to #1 and #3. I still want to add a little bling to the crown but that's for another day.
 |
| Metal Plaque #1: The finished product! |
 |
| Metal Plaque #3: The finished product! |
The magnets are so easy!!!
 |
| Notice the gold magnets- I just painted the sides with a gold paint pen. |
Supplies:
-Mod Podge
-Glass Gems (aka vase fillers)
-Magnets
-Decorative Paper, Fabric or even Photos
-Hot glue gun
-Hot glue gun

Cut out cirles of your material and using the Mod Podge glue them to the back. Then glue on the magnets with a hot glue gun.
 |
| Some pretty black and white scrapbook paper. I used a gold pen to add a border to the circles before I glued them on. |
 |
| I used the some of the left over fabric for the magnets. Perfectly coordinated! |
 |
| Here I used some crumpled gold paper. |
These would make a lovely gift for someone, possibly a graduating senior for their dorm room. It would be fun to make some really funky ones. I'll probably give these away or sell them on my Etsy shop. I hope you've been inspired to try one of these project. Let me know if you do...I would love to see yours!
Have a fantastic weekend,
Michelle
You are brilliant....LOVE these!! I would love one, and wish I was a little more patient with crafts like these, if you end up selling on Etsy, please tell us....I love them!
ReplyDeleteCool tutorial! Those magnets are great!
ReplyDeletePretty! I love the round one!
ReplyDeleteWhy thank you ladies!I appreciate your kind comments :)
ReplyDeleteThis comment has been removed by the author.
ReplyDeleteWhat a great project, and you are so right - the perfect graduation gift!!
ReplyDeleteThis is such a super idea - hate to say it in April, but I'm thinking these would make great Christmas gifts for the teens in my family~
ReplyDelete